 |
| Inside (top) and outside patterns. |
But in the end these served as a gross guide and most of my time was spent fitting and grinding and fitting and grinding.
 |
| Finished piece, ready to weld in. |
 |
| Other side of same piece. |
In the top picture of the finished piece, you may notice a large notch cut out towards the left. This, though not totally intentional, is not a big deal as there is another piece, which is not shown, that will be welded on top of this. In short, the notch/holes that you see were filled in during the welding process.
This completed Monday night. In the interim, I took advantage of a Rimmer Bros.' sale and the advantageous exchange rate to place another large order. Highlighting, I got an exhaust system, including the pipe from the exhaust manifold to the main exhaust...the only place I've found it for sale. I also got some new inner axle shaft bearings for the differential (figure since I'm taking it apart again, I'll replace those), gaskets galore for the motor and a bunch of other odds and ends. The exhaust system was the lion's share of the order.
I visited my local True Value store on Friday after work to get some hardware. In general, I find that the local stuff is cheaper than the parts houses...and much more convenient. I got the nyloc nuts for the studs for the leaf spring, new case bolts and oil seal retainer screws (Allen-head type).
 |
| Pretty much the nuts and bolts of the differential hardware requirements. I don't picture the cotter pins. |
Of course, there are some things that you need to get that are British-specific, but nuts and bolts and stuff...I've been learning that it's all available for about half the price locally. The trickier parts were the Allen-head screws that hold the oil seal retainer to the differential body. Over the last 50 years, the design of these items has obviously changed. The heads of the new screws are much smaller.
 |
| Old on left, new on right. Much wider screw head on the old (left) design. |
Not a big deal except when you want to also replace some of the spring-steel (e.g., lock washers).
 |
| Sorry...this picture really is bad. However, you may be able to see how much the old lock washer extends beyond the new screw head. |
My concern was that the heads of the new screws where not as broad as the old and that the contact area between the new screws and the lock washers that were specified would be insufficient.
 |
| New lock washers that are metric sized. Better, but not perfect. |
I got over to the garage for a while today...about 5 hours or so. The focus was on finishing up the frame repairs that I prepped Monday. I was able to get most of it welded in with the exception of the inboard side of the frame since it was tight to get the MIG wand in there.
With some advice from my brother, I put in three "support" pieces in there. This provided reinforcement where the metal was thinned and it also provided some forgiveness for overly aggressive heat application!
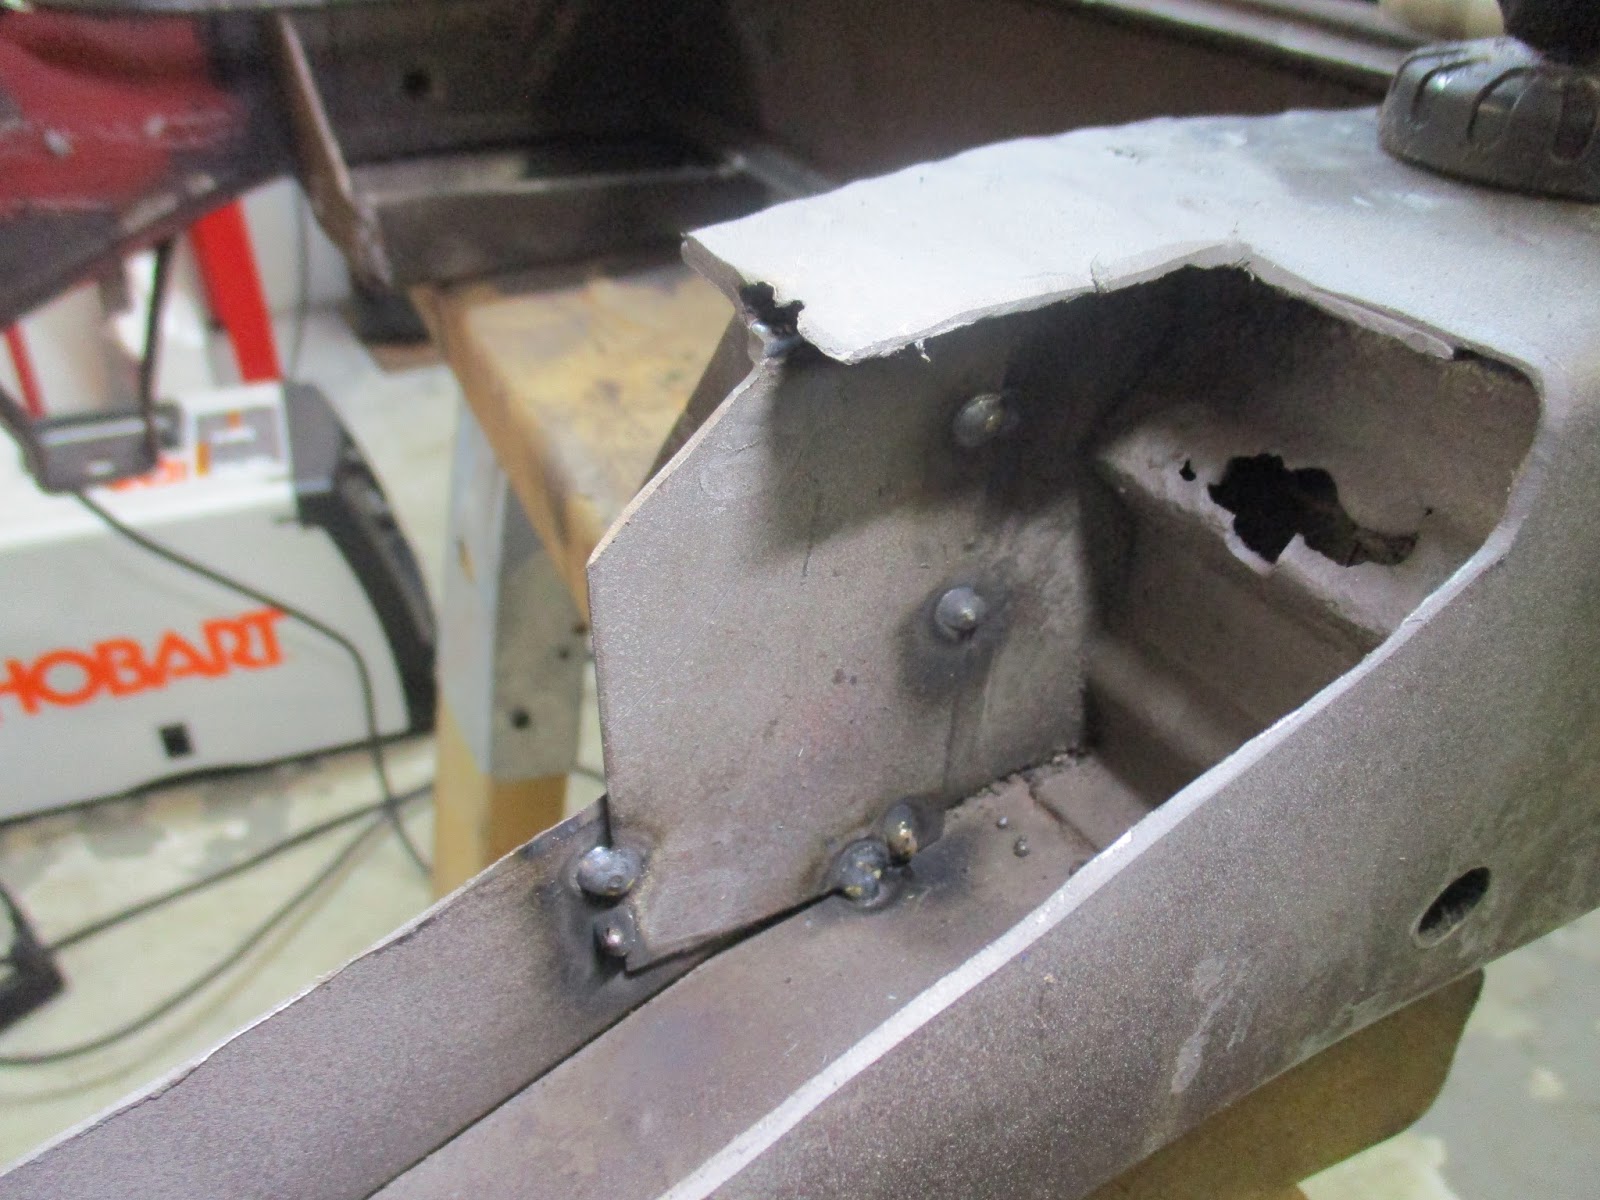 |
| First reinforcement plate. There was some rust-induced metal loss here, from the original frame, so this spot really needed it. |
 |
| The "bottom" two pieces. More reinforcement than anything else. |
 |
| New part in, viewed from inboard (hack job). |
Lots of tacking and moving around to spread the heat load, but it all seemed to go well. A couple of spots of burning through, but nothing to extreme. Besides, grinding it out makes it all better!
 |
| I need to fabricate an angled-part for the left side there, but otherwise done (except for inboard, of course). |
I'll finish up the inboard side of the frame and that small angled part, then move on to prep and POR-15 paint. I think I'm on track for finishing up the frame by the end of this month...we'll see!
In the first picture of the reinforcement that you added, there's a rust hole in the inside. Did you consider reinforcing that? Or was it too tight in there?
ReplyDeleteYes, I did consider it. It was very tight in there and I am pretty sure I would have made it worse trying to find metal thick enough to weld to. I prepped it with rust converter and then primed it. Hopefully that will be good enough and the corrugation of the metal for that piece compensates enough for the loss of material.
Delete